
A clean AI face swap on a photo takes about ten seconds. A convincing one takes a little more thought about the picture you feed it. The tools are mostly free and mostly fine — the difference between a swap that fools people and one that looks like a melted wax figure almost always comes down to your source image, not the app. So this guide is really two things: the free photo tools I'd actually reach for, and the source-image habits that get you clean, non-plasticky results on the first try.
Key takeaways
- Most free photo swappers are good enough — the quality gap is smaller than the marketing suggests, and in one ~10-tool test the free web tools "produced pretty much all the exact same results." Pick one that doesn't sign-gate or watermark you.
- Swaps look "off" for two mechanical reasons — a lot of the classic engines swap at only 128×128 internally, and they stretch the skin because the model doesn't understand facial muscles. Both are fixable.
- Your source photo does 80% of the work — close-ups, consistent lighting, similar face shapes, and one clearly visible face beat any premium plan, every time. Get the input right and even a free tool looks pro.
- For quick photo swaps, Aiface Swap is the no-friction pick — no sign-up, no watermark, photos auto-deleted in 24 hours.
The best free tools for photo swaps
You don't need to overthink this. Here are the free tools worth your time for photo swaps specifically, and what each is actually good at.
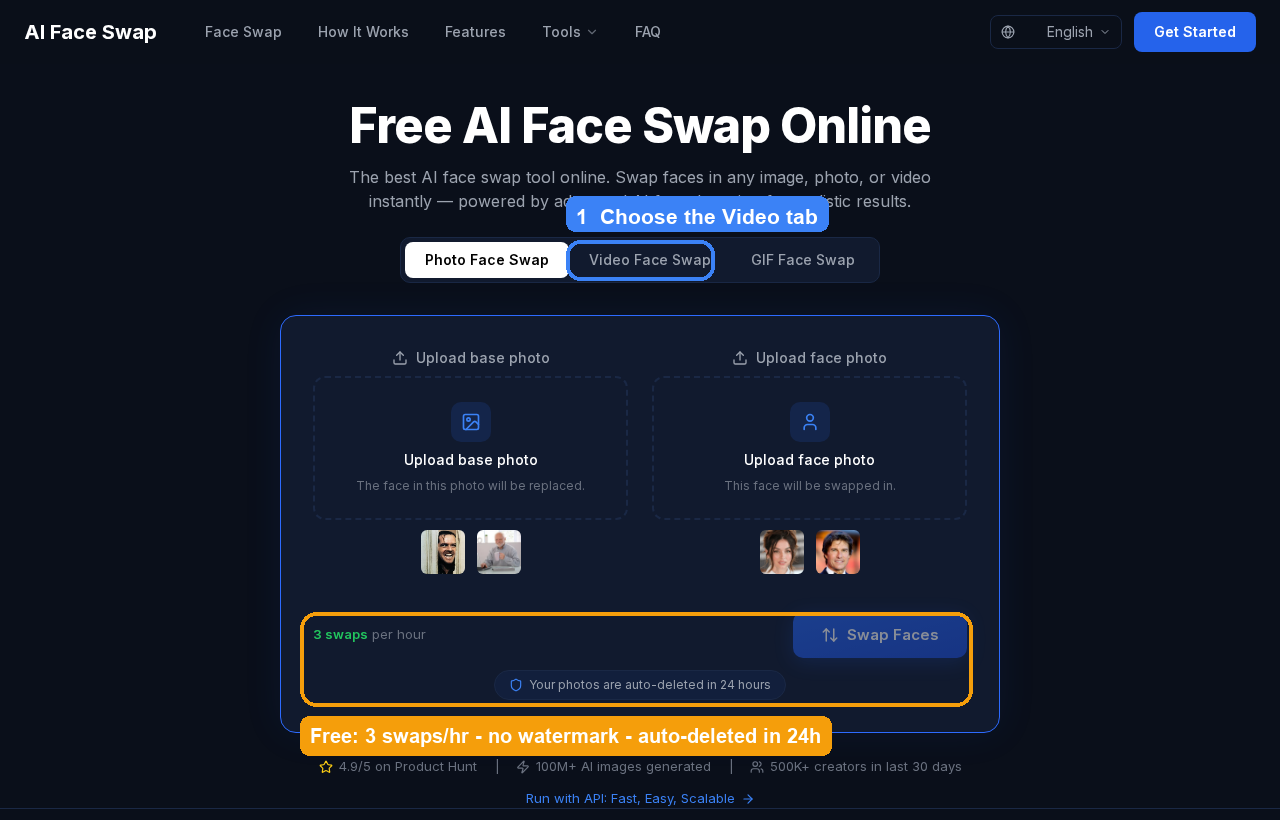
Aiface Swap — the one I hand to people who just want it done. No sign-up, no watermark ("zero watermarks"), 3 swaps per hour on the free tier, and it does photos, video, and GIFs. Photos are auto-deleted after 24 hours and there's an API if you're doing volume. It sits at 4.9/5 on Product Hunt. If you want the fastest path from "two photos" to "one swapped photo," start here.
Pixlr — a full photo editor with a one-click face swapper baked in ("swap faces between photos in one click"). Note it's photo-only — there's no video swap here — so it's a great fit if you're already retouching an image and want the swap to live inside a real editor. It's free with limits; paid tiers start at $2.49/mo (Plus), $9.99/mo (Premium), and $24.99/mo (Ultra).
AILab Tools — also photo-only, and the pick if you're a developer. You can try it without signing in, swaps run around 2 credits (roughly $0.12) each, and credits roll over. The draw is the developer API alongside the web tool, so you can prototype in the browser and then script it.
Canva — if your swapped photo is headed straight into a design, poster, or social graphic, doing the swap inside Canva ("swap faces online in seconds, free") saves you a round-trip. It's a free feature, but you'll need a Canva account.
A quick reality check before you tool-shop for hours: in a test of about ten face swappers, seven of them ran on the same aging engine and "produced pretty much all the exact same results," to the point the reviewer said he'd "give pretty much all these platforms a skip." Translation — chasing the "best" free swapper has diminishing returns. The tools are commodity; the input isn't. That's why I spend more of this guide on your photo than on the software.
If you do want the full breakdown, I compared the free options in our best free AI face swap tools roundup and put them head-to-head in this AI face swap comparison. But for a one-off photo, honestly, grab the no-sign-up option and spend the saved time framing a better source shot.
Why face swaps look off (and the fix)
When a swap looks fake, it's rarely random. There are two culprits, and knowing them tells you exactly what to fix.
1. The engine works at 128×128. A lot of the classic swap models run at only 128×128 pixels internally, then scale that tiny result back up onto your photo. That's why swapped faces can look soft, low-detail, or slightly "AI" even when the rest of the image is razor-sharp — the face itself was reconstructed from a thumbnail and then blown back up. The fix on the tool side is a face restorer like CodeFormer or GFPGAN, which most good swappers apply automatically so you never see the raw 128px output. The fix on your side is feeding a high-resolution, tightly-framed face, so there's more real detail for the restorer to lean on instead of hallucinating it.
2. The model stretches the skin. The other reason swaps go waxy is that these models, per the same breakdown, "stretch the skin as it doesn't understand facial muscles." It's pulling pixels to fit a face onto a head, without any real sense of how a face moves or sits on the skull — so it fills the gaps by smearing, and smeared skin is exactly what reads as "plastic" to your eye. You can't turn that off. But you can avoid triggering it hard, and that's almost entirely about matching the source face to the target head (more on that below). The closer the two heads are in shape and angle, the less the model has to invent.
One more thing that has nothing to do with the engine: watermarks and compression. Some "free" tools quietly wreck the output — one popular option "adds a big watermark and overly compresses" down to 360 pixels. No amount of good sourcing survives that, so pick a tool that doesn't degrade the file. And if you're wondering whether a paid tool would just fix everything — even reviewers who like a tool's results note the catch, like Remaker being called "the most natural face swap" of the free web tools while "the free version's output is pretty low-res" with HD locked behind a VIP upgrade. Better sourcing is cheaper than a subscription.
Source-image tips for a clean result
This is the part almost nobody does, and it's the part that matters most. Here's the checklist I run before every swap.
-
Use a close-up or a mirror selfie. Face swaps "work best on close-ups and mirror selfies." A face that fills the frame gives the engine real pixels to sample instead of a distant blob — which directly counters that 128×128 detail loss. If your reference is a full-body shot where the face is small, crop in first.
-
Feed 5–8 reference angles if you can. The same practitioners recommend you "feed 5–8 reference angles if possible," and that "side profiles help a lot." More angles give the model a fuller picture of the face, so it doesn't have to guess what your cheekbone looks like from three-quarters when it's only ever seen you head-on. Not every simple tool accepts multiple references, but when yours does, use it.
-
Match the lighting. "Keep lighting consistent between ref + scene," per the same thread. If your reference face is lit warm and soft but the target photo is harsh and cool, the swap will read as pasted-on no matter how good the alignment is — the tool blends the face's shape but not its light, so a mismatch screams "edited." A quick way to nail this: shoot your reference in similar light to the target, or pick a target photo whose lighting resembles your selfie. Even matching the direction of the light (window on the left, window on the left) buys you a lot.
-
Match the face shape. This is the big one for avoiding "wonky" results. When you swap between two people with different head shapes, "it looks wonky af" — because that skin-stretching problem gets amplified when the source and target skulls don't agree. If you can choose the target photo, pick one whose face shape and angle are close to your reference. Round face onto a long face is where waxiness lives.
-
Give it one clear face. Simple tools do best with a single, unobstructed face in frame — this is the same reason no-login swappers advise you it works "best with 1 face." Avoid photos where hair, a hand, a mic, or sunglasses cover part of the face, and steer clear of group shots unless your tool explicitly supports multi-face. One clean, front-facing face means the detector locks on cleanly and there's nothing to smear around. If a strand of hair crosses the cheek in your source, that's a good candidate to crop out or pick a different frame.
Do these five and you've fixed most of what makes swaps look fake — before you even open the tool. None of them cost money, and together they beat any "HD" toggle you'd pay for. The order matters less than doing them at all: a sharp, well-lit close-up of a similar-shaped face is the whole ballgame.
A quick workflow
Here's the whole thing end to end. It's three steps once your source photo is prepped.
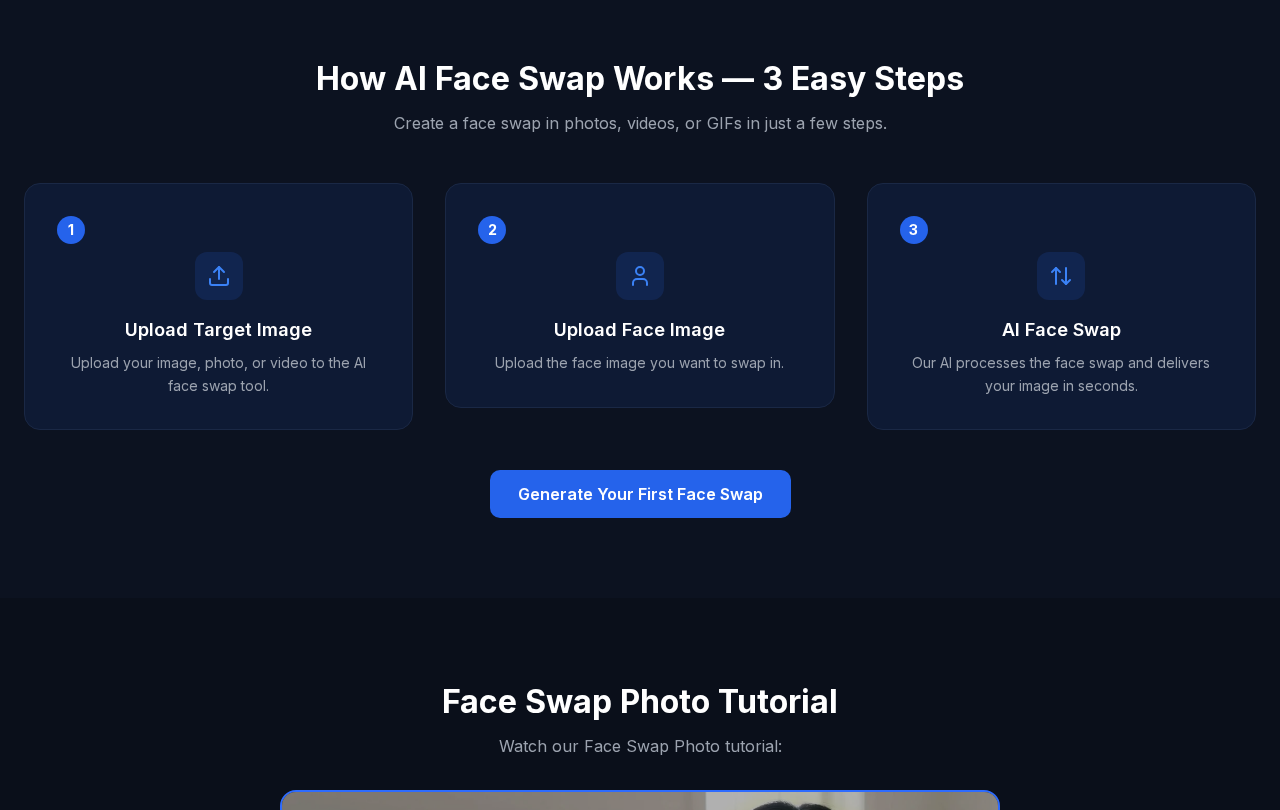
- Prep your source face. Crop to a close-up, make sure it's well-lit and sharp, and pick a target photo with a similar face shape and lighting. This is the 30 seconds that decides everything — if you skip it, no tool and no upgrade will save the result. If you've got a few selfies, pick the one that best matches the target's head angle rather than the one you like most.
- Upload the target, then the face. In Aiface Swap, you drop in the base image (the photo you want the face to appear in), then your face reference. Automatic face detection handles the alignment — no masking, no sliders, no fiddling with reference-distance numbers like you'd do in a desktop tool.
- Swap and check the eyes. Let the AI run, then zoom in. If something's off, it's usually the eyes or a lighting mismatch — swap in a better-lit reference and rerun rather than fiddling endlessly. With 3 swaps per hour on the free tier, you've got room to iterate.
That's it. No account, no watermark, and your photos are deleted after 24 hours. If the result needs a final polish — smoothing a lighting seam, cleaning the background, tidying skin — a dedicated AI photo editor picks up where the swap leaves off.
Try Aiface Swap for your next photo
If you want a clean photo swap without signing up, installing anything, or fighting a watermark, Aiface Swap is the one I'd start with. It's free, does photos, video, and GIFs, runs automatic face detection so you don't touch a single slider, and deletes your uploads within 24 hours. There's an API when you outgrow the browser, and it's earned a 4.9/5 on Product Hunt with 500K+ creators and 100M+ images generated.
Bring a good close-up, match the lighting and face shape, and let the tool do the boring part. Prep the photo well and even a free swapper will look like you actually meant it. Start a free swap — and if you're still deciding, skim the tool comparison first.